
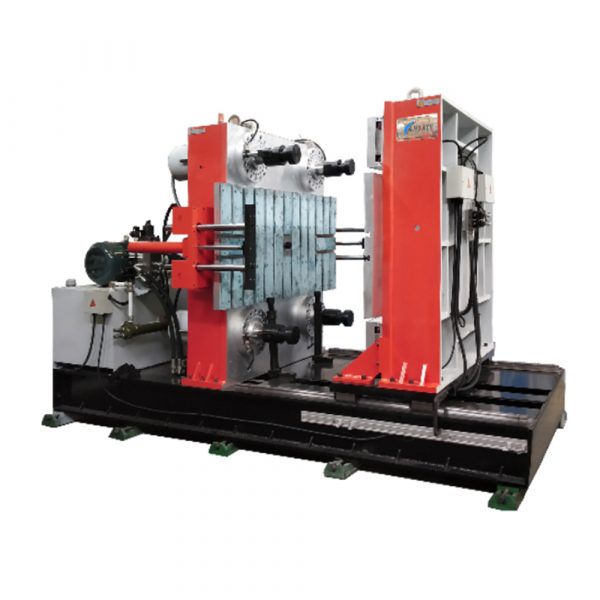
User-first overview: what this guide does for you
This guide is written for the technician, workshop manager or on-site engineer who needs clear, usable steps to get a high-tonnage belt vulcanizing press safely online. It focuses on what you actually do on the floor — unpacking, anchoring, levelling, aligning platens and running the first curing cycles — and skips the fluff. If you’re familiar with clamping force and hydraulic press basics from working with a horizontal rubber injection molding machine, a lot of the mechanical logic will ring true. Many teams also compare these operations with their horizontal molding machine setups, so cross-compatibility of procedures helps when crews move between machines.
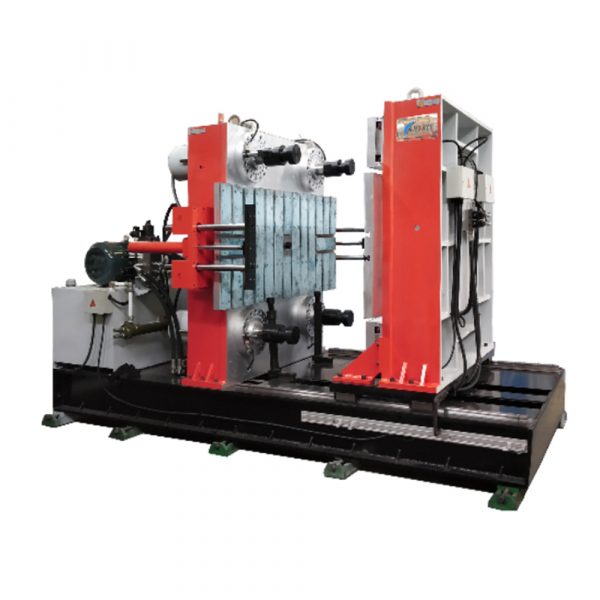
Pre-install checklist and site prep
Start by confirming the foundation and service needs. Inspect floor flatness and bearing capacity against the press spec sheet. Make sure power, hydraulic lines, and compressed air meet rated pressures. Have shims, a spirit level, torque wrenches and dial indicators ready. Record serial numbers, the vendor’s commissioning checklist and any ISO 9001 documentation for future audits. Keep the area tidy — an uncluttered working zone reduces errors during heavy lift and alignment operations.
Safe unpacking, positioning and anchoring
Bring in the press with certified rigging and a planned lift path. Set temporary supports, then lower to the foundation bolts. Use a calibrated torque sequence to fasten anchor bolts; over-tightening warps baseplates. Install leveling screws or grout the base per manufacturer guidance. Check the platen faces for flatness; a dial indicator reading across the platen will show runout. Log each measurement so the commissioning record tells the story of what was adjusted and why.
Precision leveling and alignment — the hands-on steps
Level the frame in both axes, and check platen parallelism. Use a straight-edge and feeler gauges, then a dial indicator to confirm less than the vendor tolerance for runout. Verify die alignment so that the vulcanizing press heats and cures uniformly — uneven contact creates poor vulcanization and shortened belt life. Set hydraulic pressures slowly during initial cycles to seat seals and hoses. Keep an eye on temperature uniformity across the platen during early curing runs; inconsistent temps indicate bad thermal contact or platen issues.
Commissioning, safety checks and first runs
Commission in stages. Power up controls, test emergency stops, and validate interlocks. Run dry cycles to confirm motion control, then a low-pressure cure using a sacrificial belt or test coupon before full production. Monitor pressure gauges, cycle timers and curing profiles. If you see pressure spikes or unusual hydraulic noise, stop and inspect — those are early-warning defects, not something to push through. Record curing cycle durations and temperatures for the machine log; this forms your baseline for future maintenance.

Common mistakes and quick fixes
Teams often rush anchoring, assume platens are flat, or skip baseline logs. Don’t. Missing the initial dial-indicator check costs hours later on. Another frequent slip is misreading the hydraulic schematic and swapping lines — label everything during install. If thermal profiles are off, re-check platen parallelism and the condition of heating elements. Small problems fixed early save long downtime later — and most fixes are straightforward once you know where to look.
Putting it together: operational tips and real-world anchor
Document each step as you go — measurements, torque values, and curing records. A practical anchor here: during the 2020 supply-chain disruptions, several workshops around Melbourne prioritised rigorous commissioning protocols to avoid repeat callouts while spares were scarce. That discipline paid off — fewer emergency repairs and steadier belt quality. Keep spare seals and a mobile gauge kit on hand; they pay for themselves quickly when a line needs to restart.
Three golden rules for choosing equipment and procedures
1) Measurement first — accept no assumptions about flatness or alignment; record values and tolerances. 2) Safety and interlocks are non-negotiable — confirm E-stops, guards and control logic before any load testing. 3) Baseline your machine with a documented curing cycle and pressure profile so future deviations are obvious.
Follow these rules and you shorten commissioning time, reduce rework and extend belt life. For practical, reliable machines and support that match these standards, consider how HWAYI fits into workshop workflows — proven hardware, clear documentation, sensible service. Worth it.