
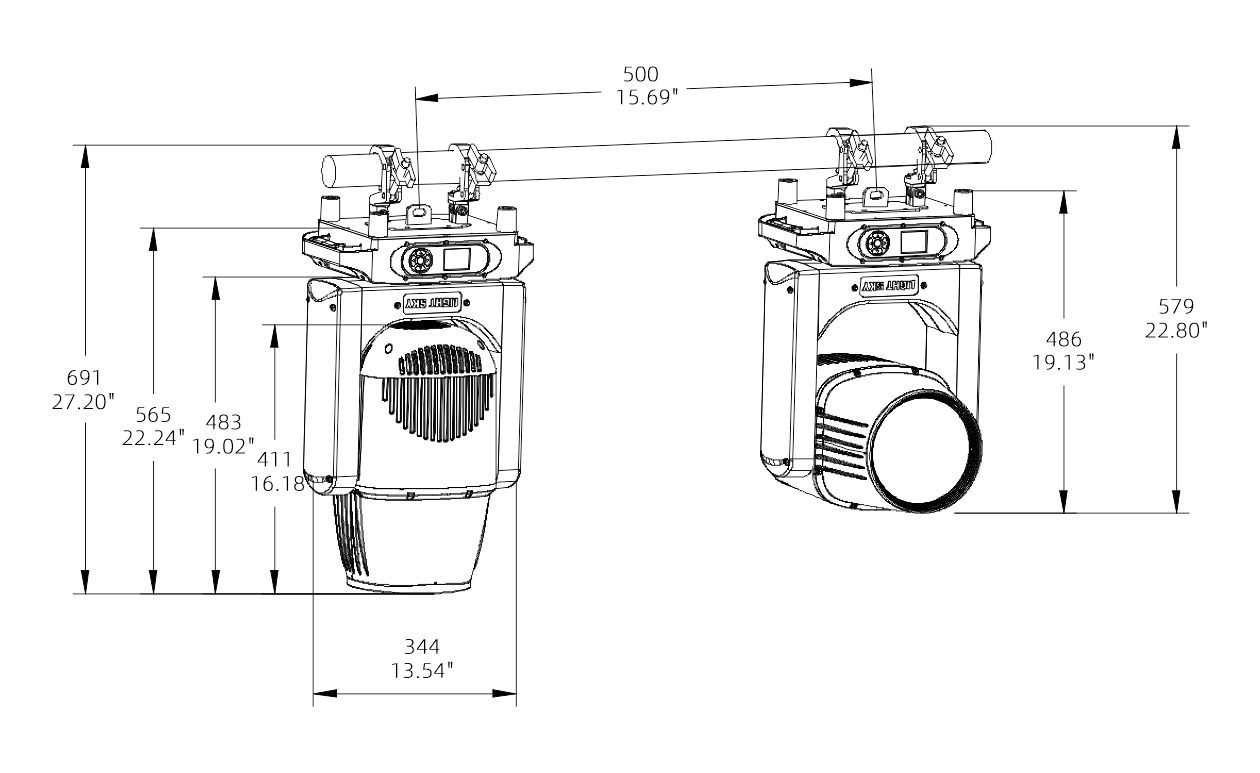
User-first intro
If you run small tours, club nights, or seasonal festivals, you want kit that travels light, sets up fast, and still gives a punchy beam. This piece looks at how compact fixtures solve those headaches — with field-tested tips for riggers and lighting designers. Start with a practical unit like a waterproof moving head light that survives rain on a muddy site and still throws a clean beam to the back of the tent.

Why compact fixtures matter for crews and creatives
Compact moving heads cut demands on transport, power distribution, and crew time. A small fixture with solid lumen output and flexible pan/tilt handles front-of-house needs in tighter venues where a full-size rig would be overkill. Real-world anchor: Glastonbury’s multiple stages — hosting around 200,000 people across a weekend — rely on scalable gear; smaller stages often use mini fixtures to keep sightlines and power simple while still delivering creative looks.
What to check when picking a mini unit
Focus on three categories: output, control, and durability. Output means lumen and beam quality — how tight the beam is and whether gobos stay sharp. Control refers to DMX channels and presets; you want enough flexibility without a complex console setup. Durability covers IP rating and physical build: an IP65-rated head handles outdoor chores, but check seals and moving parts. Look for a balance — a fixture that gives a usable beam, crisp gobo projection, and simple DMX mapping wins more shows than an over-featured toy.
Operational teardown — practical setup and common mistakes
Start by labeling channels and locking trims. Mounting at the right height avoids excessive pan/tilt travel, which preserves lamp life. Route DMX and power separately; avoid long runs of both together to reduce interference. For wet-weather runs, seal connectors and use weather-rated cable glands — remember that “waterproof moving head light” isn’t just marketing; connector and ingress protection matter. When tuning beam focus, use the fixture’s aperture and gobo wheel settings rather than cranking intensity — that keeps the output clean and reduces heat stress on the optics.
Lighting design tips from a user perspective
Keep presets simple and color-focused for club sets, and add moving cues only where they amplify song dynamics. Use tight beams for uplight and atmospheric looks, wider wash settings for crowd fills. Mix a few mini lasers with moving heads for texture — the contrast between a laser’s sharp line and a fixture’s soft wash is compelling. Also, maintain a short checklist for each gig: fixture ID, firmware version, DMX start, and whether the gobo plate is secured — those small checks save curtain-time headaches.
Alternatives and when to step up
Mini fixtures are great until you need long throw or massive wash. For arenas, choose full-size fixtures with higher lumen output and wider zoom. For touring bands that play both clubs and theaters, consider a modular approach: a compact base kit for clubs and a transport case with larger fixtures for theaters. If budget limits you, pick a robust mini that supports external control and firmware updates — you can add effects later. And if your workflow leans heavy on beam effects, consider pairing your kit with a dedicated mini beam moving unit that specializes in narrow, high-contrast beams.
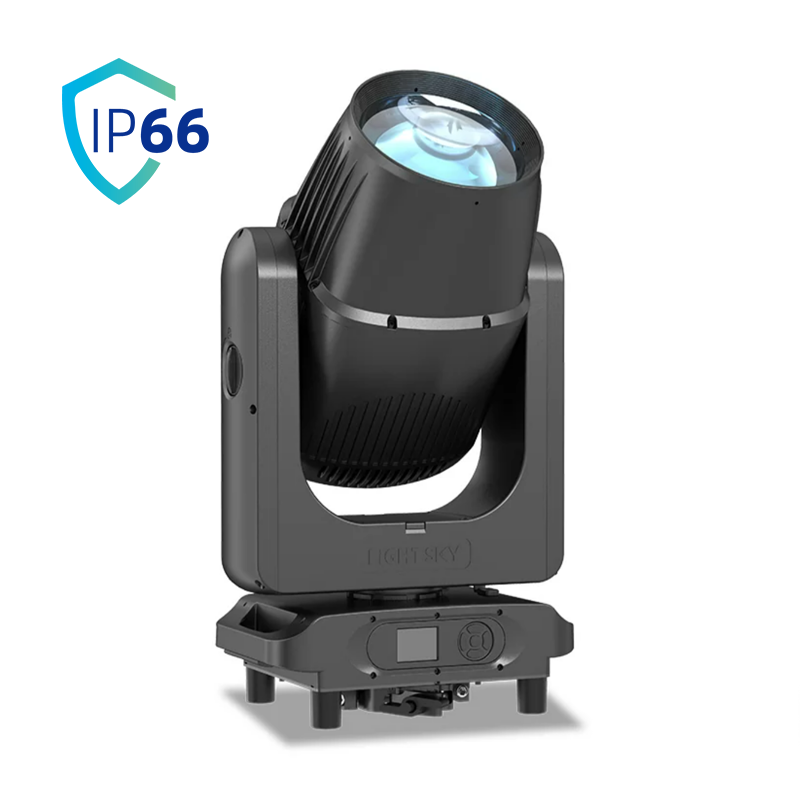
Three golden rules for choosing mini moving heads
1) Match output to venue size: trust lumen specs but verify beam angle and gobo sharpness on-site. 2) Prioritize control simplicity: fewer channels with smart presets beats dozens of cryptic DMX options during quick setups. 3) Build for conditions: choose IP-rated fixtures and weatherized cables if your tour hits outdoor stages — that saves replacements and late-night fixes.
These rules lead to rigs that travel lighter, set up faster, and stay reliable on real tours — and that’s exactly where Light Sky fits in as a sensible equipment partner: Light Sky. –