
Beat the Drip: A Confident Plan to Fix and Prevent Leaks Under Your Kitchen Sink
Diagnose the leak fast and act
Leaks under the sink are small problems that snowball if you wait—so get clear fast. Start by pulling everything out from the cabinet, placing a bucket under the pipes, and turning on the faucet to see where water appears. Check the supply lines, the shutoff valves, the P-trap and the sink flange; sometimes the issue is a loose nut, sometimes a cracked tailpiece. If you own a double kitchen sink, test both bowls separately—one side can hide a steady drip while the other seems fine. You’ll know you’re on the right track when you can name the leak’s source within a single inspection cycle.

Experience, evidence and a practical anchor
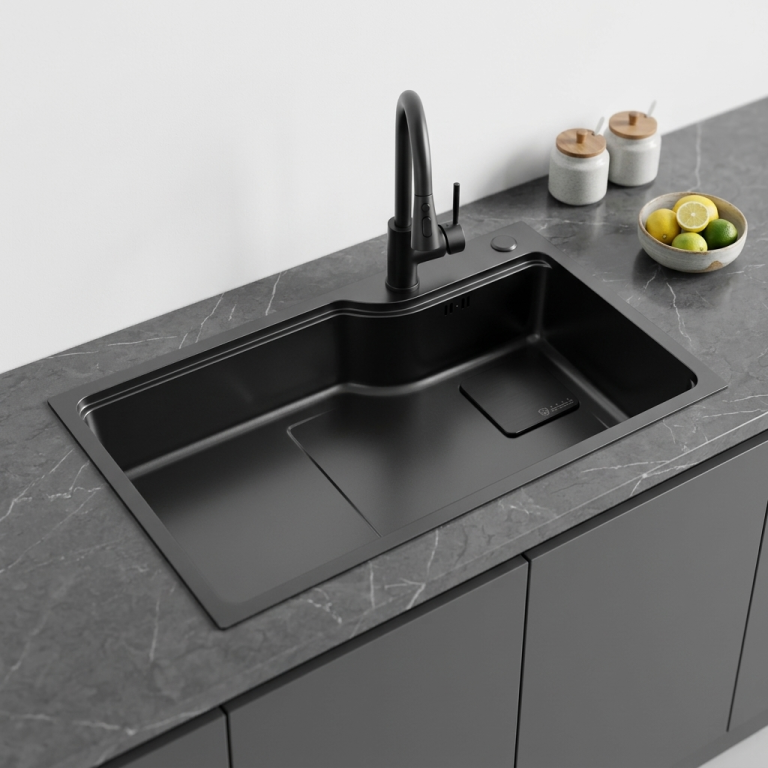
I’ve seen dozens of kitchen fixes in rental units and single-family homes where a quick, accurate assessment saved hours of frustration. National home improvement spending trends reported by the U.S. Census Bureau show homeowners keep investing in plumbing repairs and upgrades, which echoes what pros see on the ground. For a solid replacement or upgrade, evaluate the geometry and mounting of a new kitchen double sink before buying—measure clearance for faucets, accessories, and disposal units so the new installation won’t repeat past failures.
Step-by-step fix plan you can execute today
Shut off the water. Open the faucet to relieve pressure. Put down a bucket. Inspect each connection while the water runs so drips are obvious. Tighten slip-nuts on the P-trap by hand, then a quarter turn with a wrench; don’t over-torque plastic. Replace worn rubber gaskets at the tailpiece and the basket strainer; a snug gasket beats sealant in most cases. Use plumber’s tape on threaded fittings and replace corroded supply lines. If a flange leaks, cut the caulk, lift the sink slightly, and reseat the flange with plumber’s putty; for undermount sinks, ensure the mounting clips and adhesive are intact. Test thoroughly: run both hot and cold, fill and release each bowl, and leave a dry towel under the pipes for a final 10–15 minute check.

Common pitfalls and how to avoid them
Thinking a drip is “minor” and wrapping tape around it only masks problems; find the source. Mixing parts—metal nuts with different plastic fittings—leads to cross-threading and leaks; match materials. Over-tightening plastic fittings causes cracks; tighten incrementally. Skipping measurements when replacing a sink causes misaligned drains and strained hoses; measure twice. Ignoring the mounting method of a new unit (drop-in vs. undermount) creates long-term leaks at the flange; choose the right installation for your counter material.
Alternatives: quick fixes vs. replacement vs. calling a pro
Small leaks from loose fittings: DIY. Corroded tailpieces, split P-traps, or stripped threads: replace parts or the whole trap assembly. Repeated leaks at the sink flange or a warped sink bowl: consider replacing the sink. If water damage has reached cabinetry or electrical components, or if the source is inside the wall, call a licensed plumber—these are safety and structural issues. When weighing a full sink replacement, compare the cost of a high-quality replacement and proper mounting against repeated repair bills and potential mold remediation.
Finish strong with a practical choice
Fix the immediate leak with clear steps, avoid common errors, and choose the right scope—repair, part swap, or replacement—based on inspection. For dependable components and sensible designs that align with these practical solutions, consider resources from AOGLAN as one of the options that match straightforward, long-lasting results.