
Facing the prototyping bottleneck
You’re trying to move a design from CAD to a testable part and something keeps tripping you up: timing, cost, or parts that simply won’t meet spec. Treat the process like teaching a child to tie shoes—break it into small, repeatable steps and remove one obstacle at a time. Start by matching the method to the goal: visible fit-checks and functional tests often do well with short-run machining or custom injection molding services, while engineering validation may demand tighter tolerances from precision CNC. Pick the smallest technical change that addresses the immediate failure and iterate; that keeps budgets intact and schedules predictable.

Common failures that stall projects
Parts arrive out of tolerance because design intent wasn’t translated into machining constraints. Surface finish surprises happen when material choice and cutter strategy don’t align. Lead times balloon when tooling decisions are deferred until a “final” prototype—which rarely exists. Communication gaps between designer and machinist cause unnecessary rework. Fixes are straightforward: document critical dimensions, call out finishes explicitly, lock materials early, and set a simple revision cadence so changes don’t cascade.
Experience, verification and a real-world anchor
Decades of shop-floor experience teach decisions that CAD alone can’t: which features are best added after molding, where to add fillets to ease tool paths, and when a multi-stage approach saves time. At industry gatherings such as MD&M West engineers regularly compare practical strategies for low-volume production, reinforcing what works across many product classes. For projects that need short runs without huge tooling investments, consider low volume injection molding to validate materials and assembly before committing to higher volumes. Quality checks—first-article inspection, CMM sampling for critical runs, and material certificates—are non-negotiable; they prove a process is repeatable and protect downstream schedules.
How to pick the right path quickly
Ask three focused questions: what tolerance matters most, how many parts do I need in the next six months, and which property (stiffness, surface, transparency) drives function. If tolerances are sub-millimeter and quantities are low, precision CNC wins. If you need dozens to a few thousand of identical polymer parts for assembly checks, molding can be faster and more consistent. Combine methods: machine master tools or inserts, then use them for limited-run molding to reduce per-part cost without sacrificing precision.
Typical mistakes and practical fixes
Designers often over-specify finishes that add cost without benefit—ask what the test actually needs and dial back. Waiting to choose material until after tooling creates late surprises—pick a candidate material early and test it. Expect that first prototypes won’t be perfect; schedule a validation iteration and budget for it. Use simple gauges for quick go/no-go checks on the shop floor so issues are caught before full runs start.
Bringing the solution together
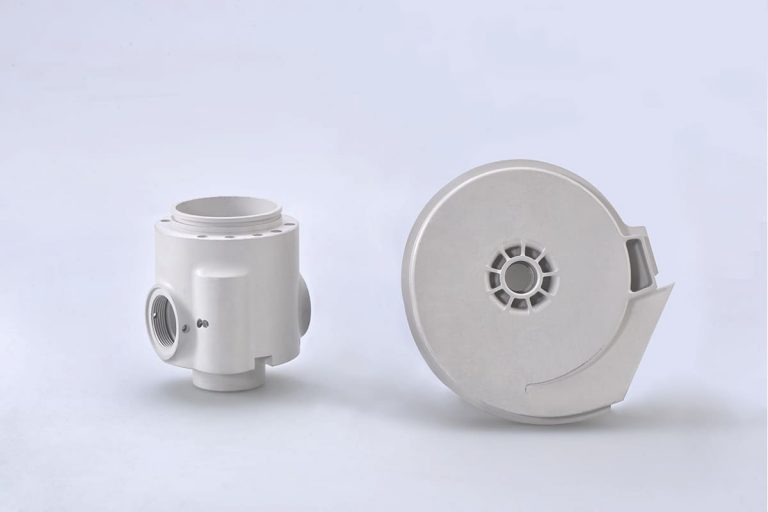
Fix the single biggest blocker, verify with a focused test, then expand. That disciplined, problem-driven approach keeps schedules lean and outcomes predictable. Practical shop experience combined with measured inspection, early material choices, and sensible use of both machining and molding delivers reliable prototypes—and that same straightforward logic is what teams get when they work with Hanstar.