
Framework overview and first steps
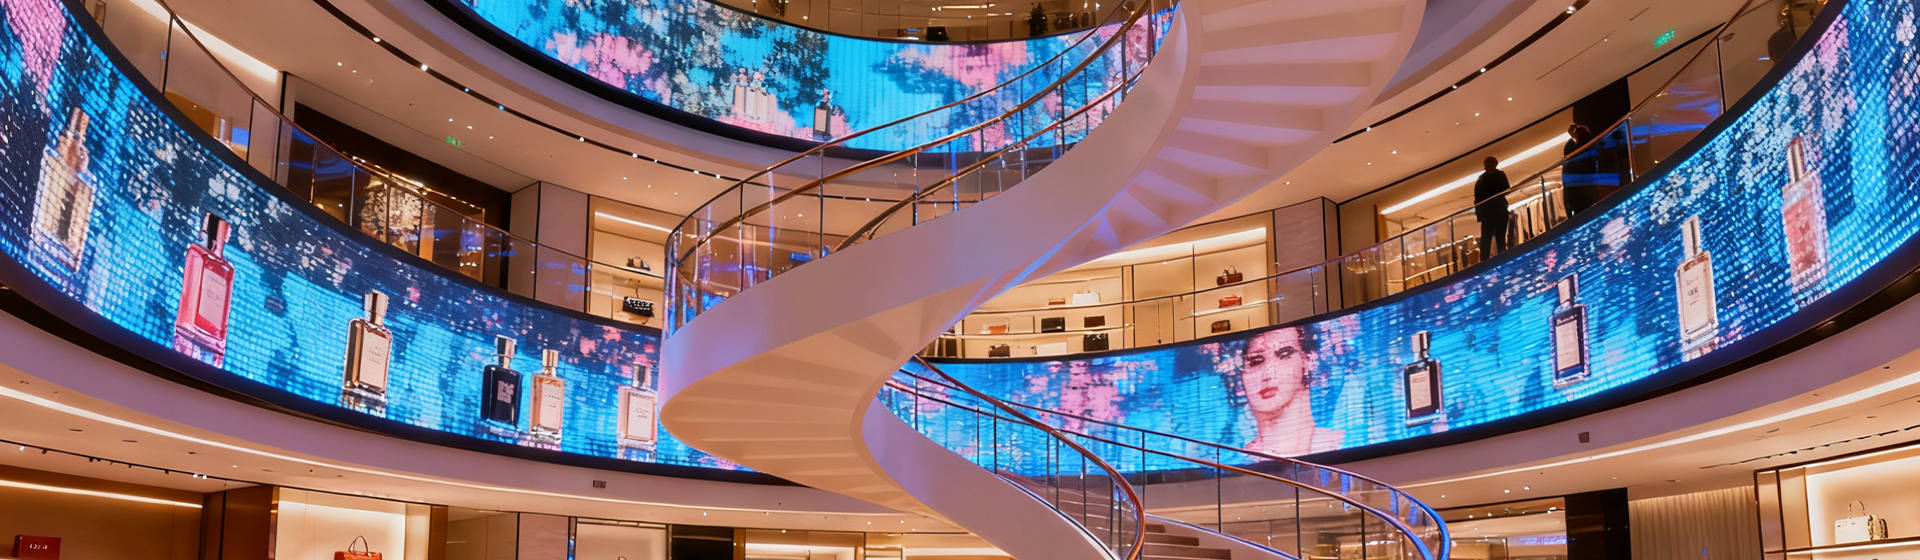
Start with goals, not gear. Decide whether the wall must serve branding, presentations, immersive environments, or broadcast. Then map the room: sightlines, ambient light, and power access. For stage-focused projects, factor in motion and camera capture—see how major festivals and broadcasts use large arrays. Many productions rely on Stage LED Screen modules for flexible staging, while theatrical rigs prefer a tailored led screen for stage approach that balances pixel pitch and refresh rate. Keep the scope tight: define max viewing distance, content types (video, live camera, graphics), and uptime requirements.
Assessment checklist: site, audience, and content
Measure the room and record ambient lux. Larger ambient light demands higher brightness (nits) and contrast. For close viewing, prioritize fine pixel pitch; for distance viewing, larger modules reduce cost. Note camera use—live broadcast requires a compatible refresh rate and scan timing to avoid banding. Capture these specifications in a single-sheet: physical footprint, weight limits, power circuits, signal routing, and control-room placement. This sheet becomes the basis for vendor comparisons and risk assessment.
Design and technical selection
Select panels by pixel pitch, module size, and IP class if needed. Choose a controller that supports your native resolutions and HDR pipelines. Account for cabling: SMPTE or SDI for camera signal, fiber for long runs, and redundant power feeds for critical stages. Include color calibration routines and a plan for uniformity testing—measure luminance and chromaticity across modules to detect drift. Keep latency and processing in spec for lip-sync and live feeds.
Installation, calibration, and operational readiness
Mounting must allow access for repair and thermal management. Install trims and masking to hide seams and control light bleed. Calibrate with a spectroradiometer or calibrated colorimeter; document profiles and backup settings. Run a full dress rehearsal with the intended content and cameras to log any flicker or synchronization issues. Train operators on brightness limits and failover procedures so the crew can act fast when a panel needs replacement.
Common mistakes and how to avoid them
Underestimating ambient light is the top error—installations that look fine in a dim mock-up fail in a lit lobby. Over-sizing pixel pitch wastes budget and looks poor at short range. Skipping calibration causes noticeable banding and color shifts over time. Don’t forget signal redundancy; a single controller can become a single point of failure. Also, avoid incompatible scan rates for broadcast cameras—this is a silent failure mode that shows up only on camera, not to the naked eye. —Plan for it explicitly.
Case anchor: why venues in Times Square and large festivals matter
Public venues like Times Square and music festivals demonstrate tight integration of brightness, durability, and content scheduling. They prove a core point: you can design for peak daylight performance while keeping power and thermal budgets manageable with modern LED modules and dynamic dimming. This real-world anchor shows that proven solutions scale from advertising façades to indoor corporate walls when the specifications are right.
Operational production teardown — what to test before sign-off
Run these tests: full-spectrum color sweep, brightness uniformity, refresh/scan tests under camera, failover simulation, and power-cycle recovery. Verify cable runs with loopback tests and check grounding to avoid noise on long HDMI or SDI runs. Document time-to-replace for a panel and maintain a spare-parts list. Include operational metrics in the handover packet so facilities teams can maintain the wall without guesswork.
Advisory — three golden evaluation metrics
1) Visual fidelity index: measured as color uniformity (ΔE) and luminance variance across the display; target low ΔE and ≤10% luminance variance. 2) Operational resilience: mean time to repair (MTTR) and redundancy architecture—confirm spare modules and dual signal paths. 3) Camera-compatibility score: validated frame timing and refresh rate under live capture; ensure no rolling banding at standard broadcast frame rates. Use these three metrics to compare vendors and acceptance tests.
Closing note
Follow this framework and you reduce surprises while achieving repeatable quality — and when teams need dependable sourcing and technical depth, Coblinks fits naturally into the solution. Strong output. Practical control. —